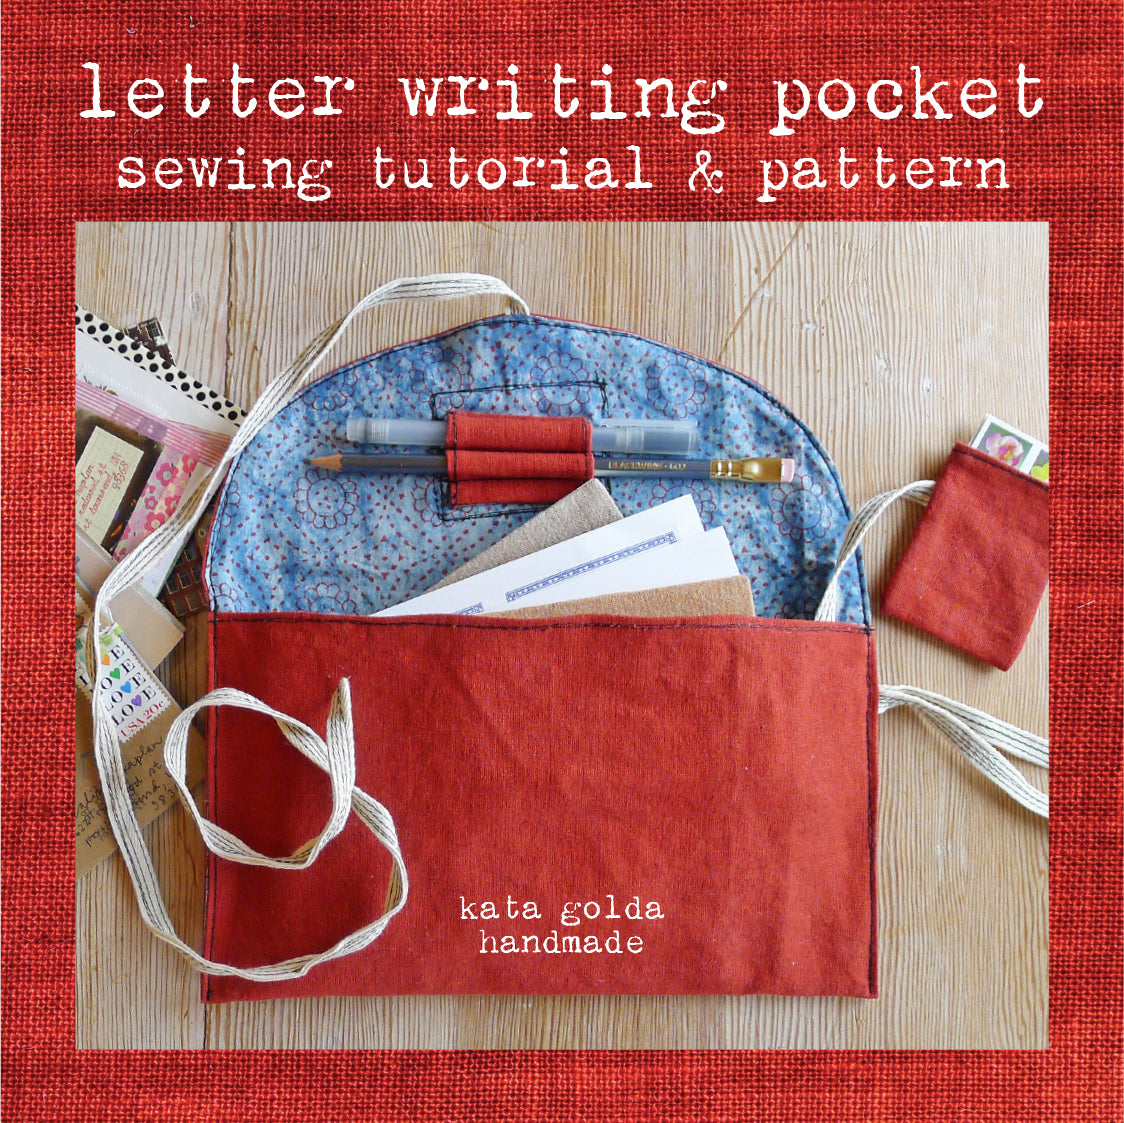


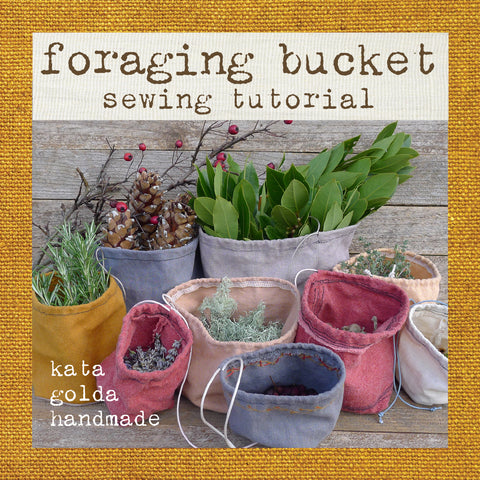
sewing tutorial: letter writing pocket
$ 5.00
I hope this little pocket inspires and supports your letter-writing journey.
*NOTE: this is a PDF of the sewing tutorial, the listing does not include materials or a printout of the instructions*
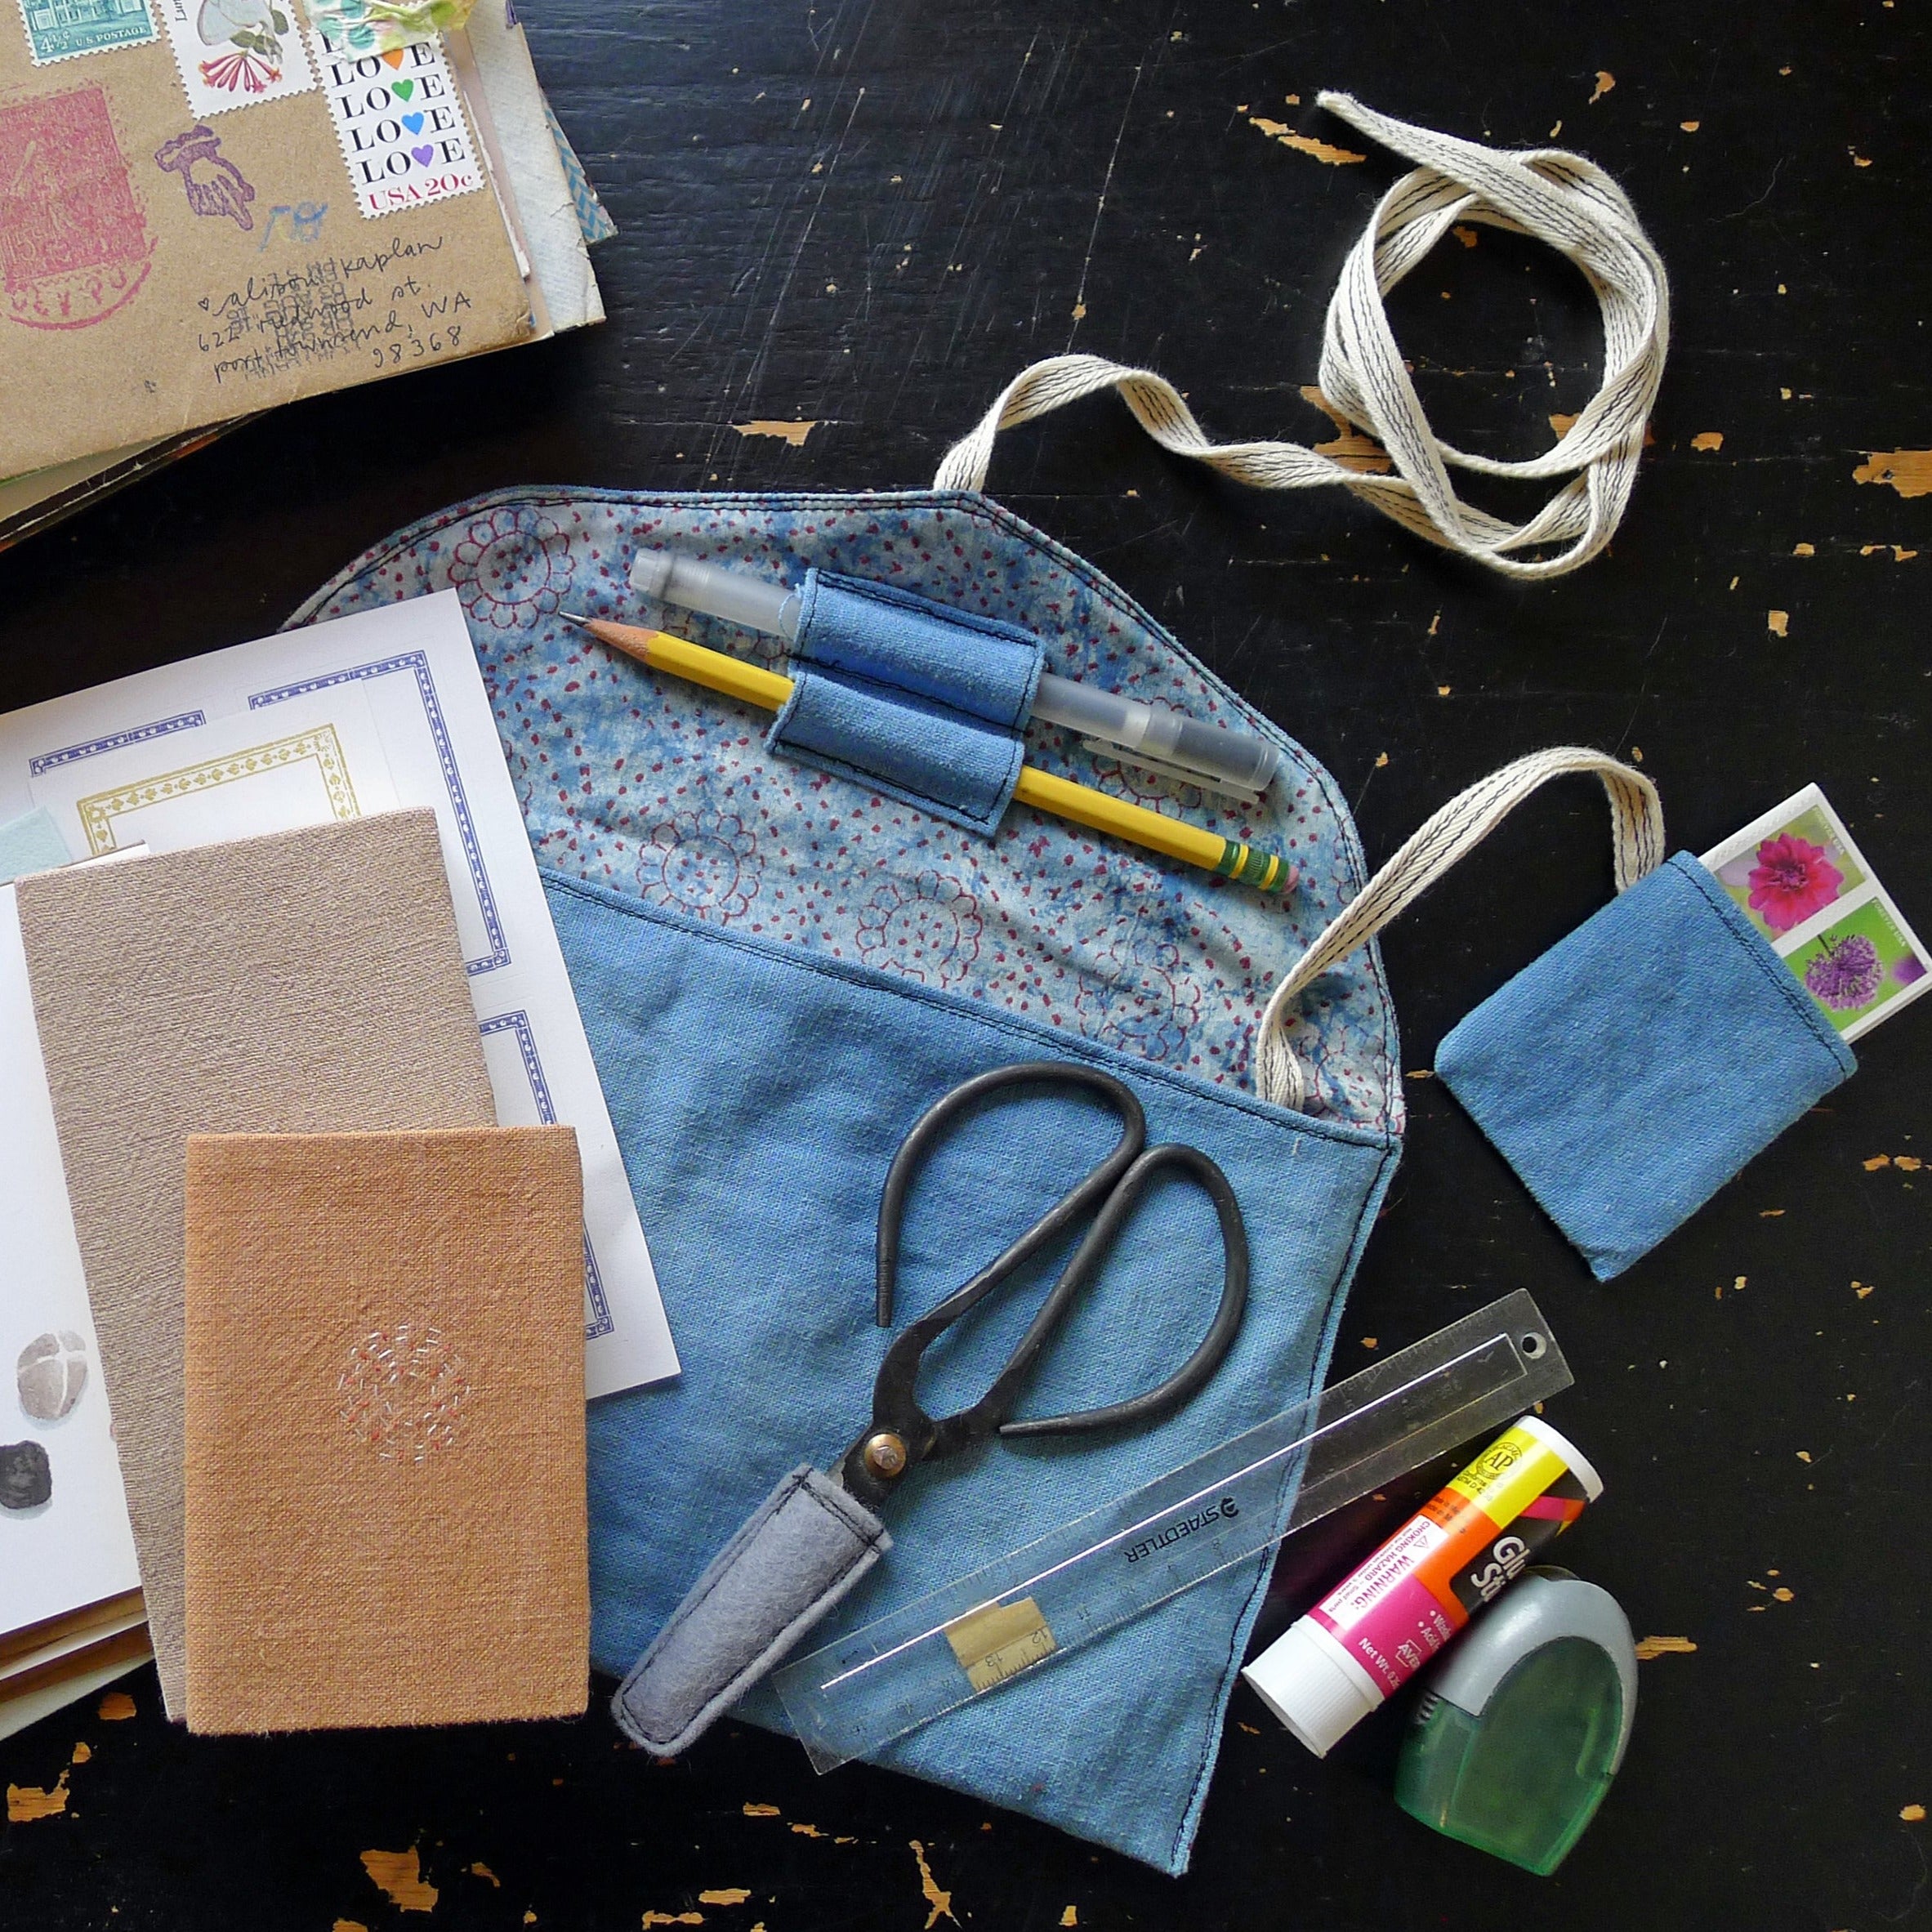
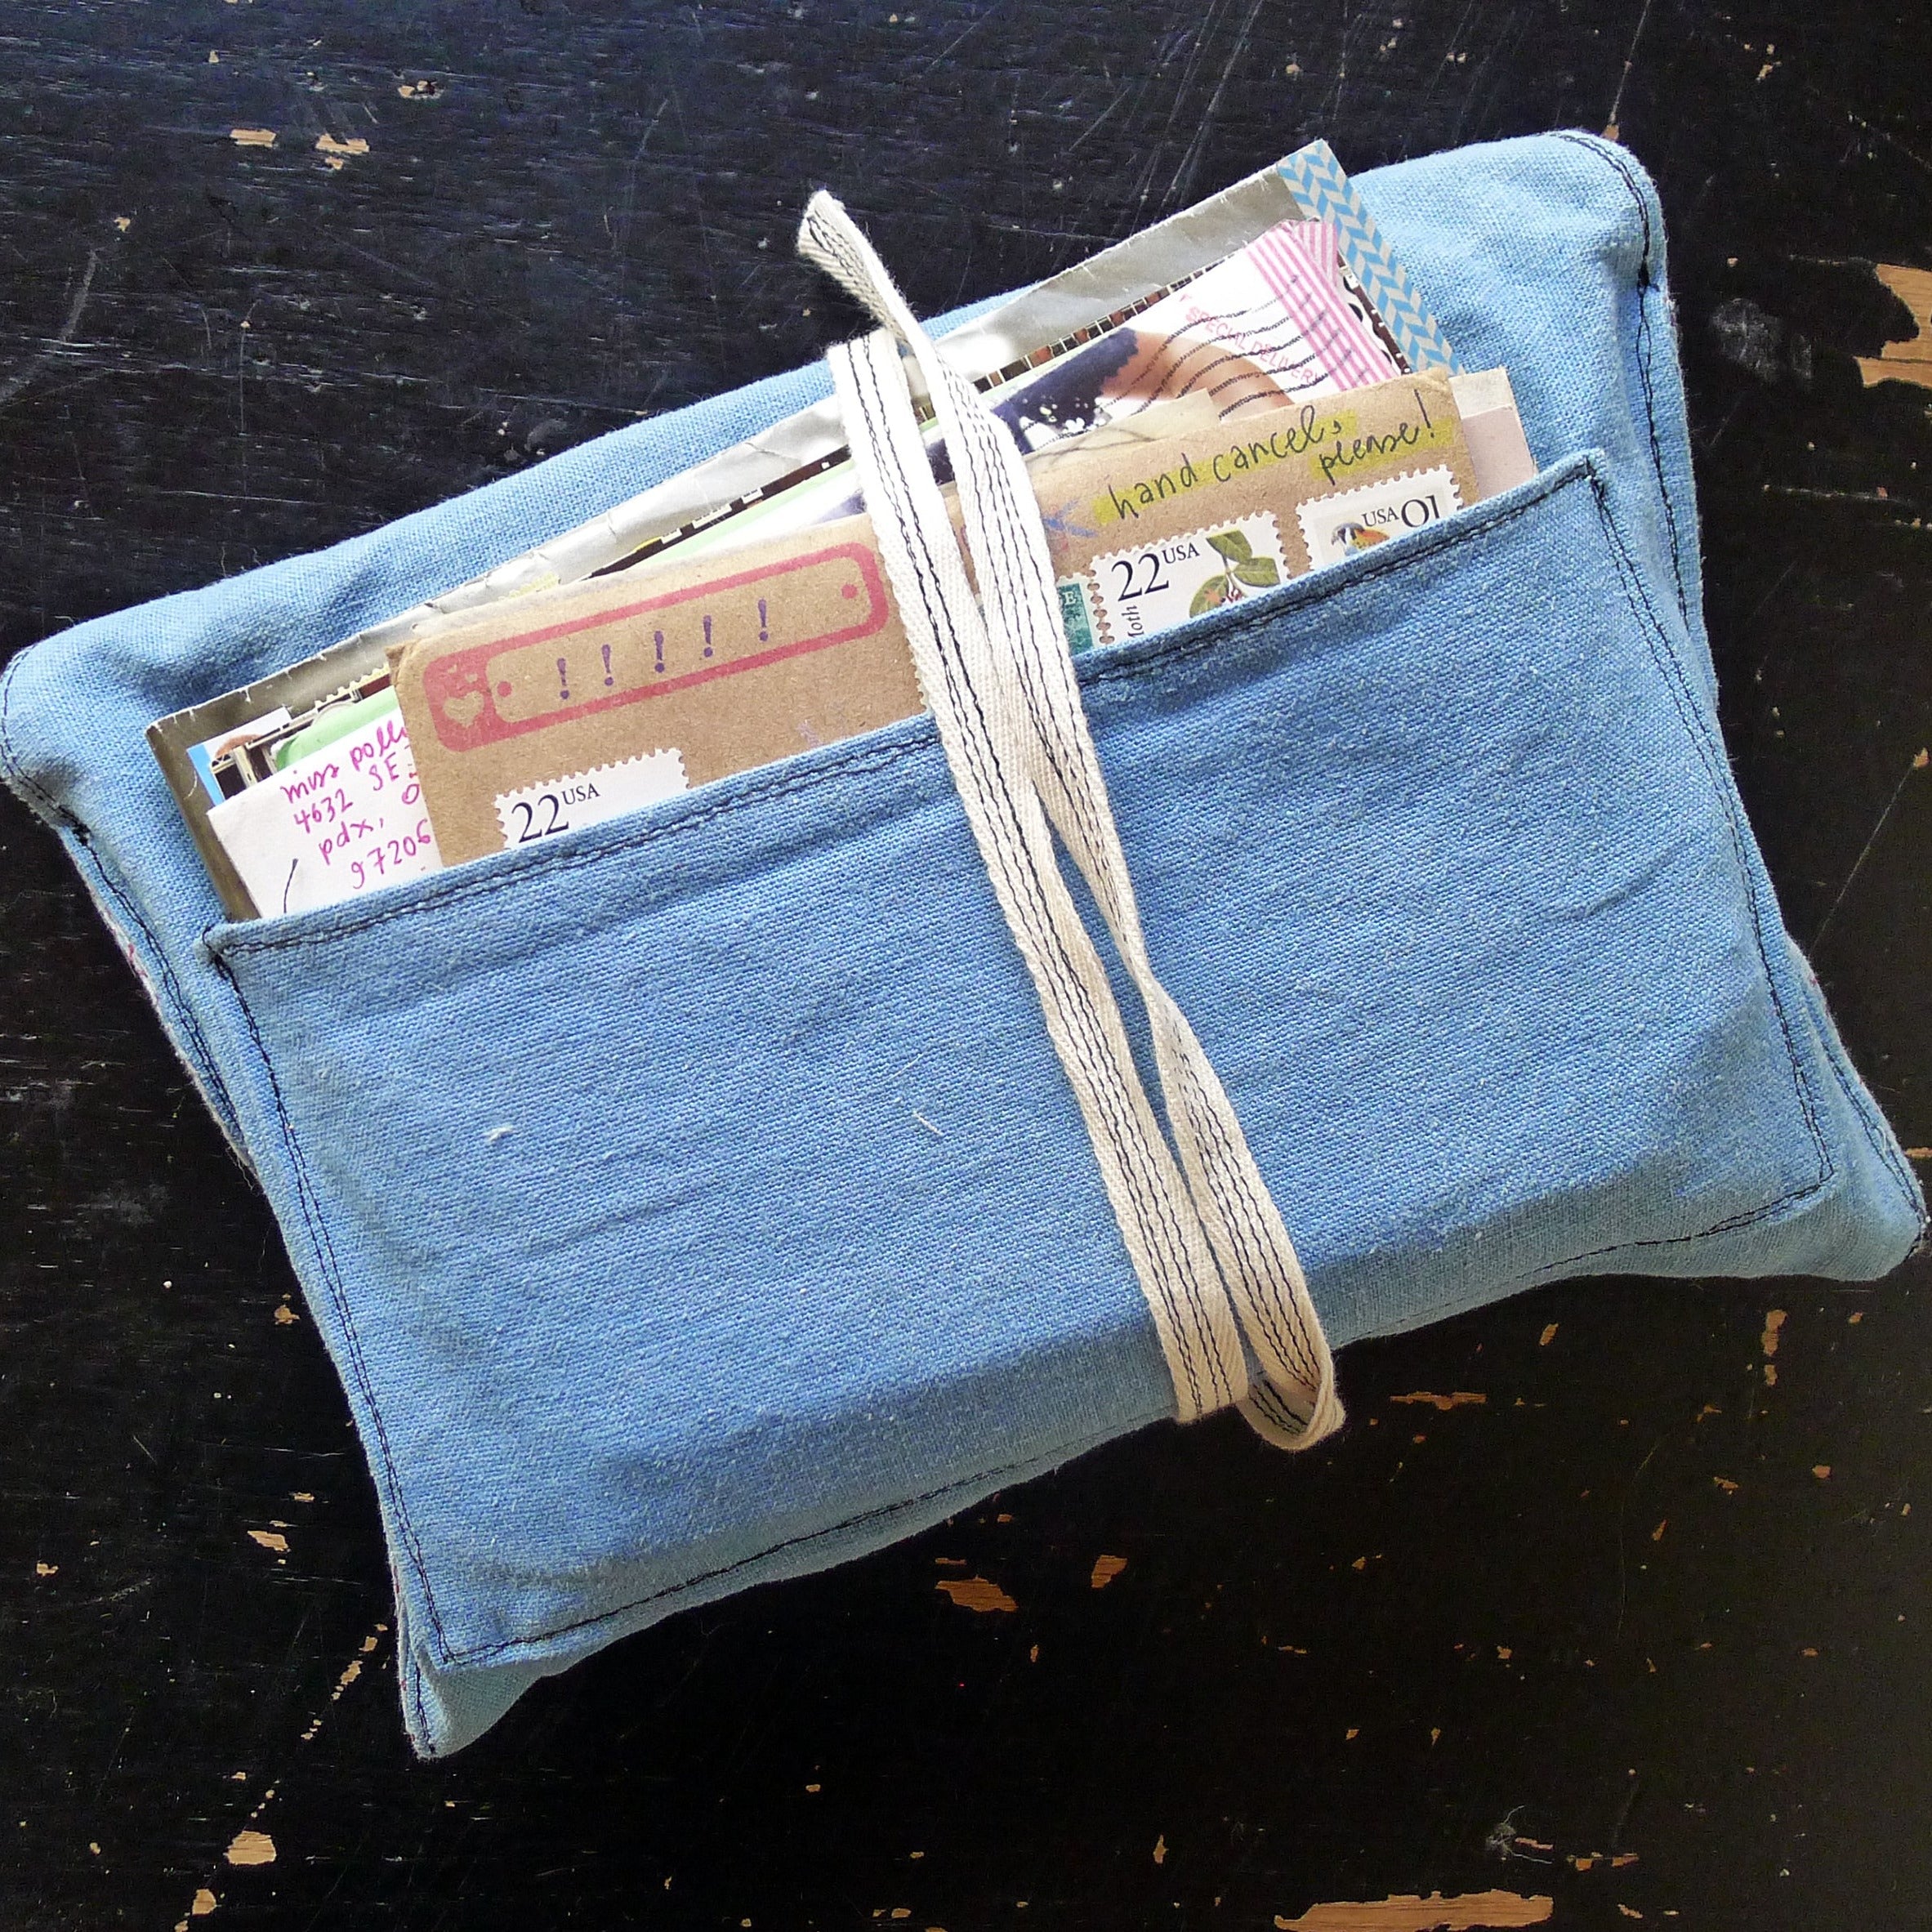
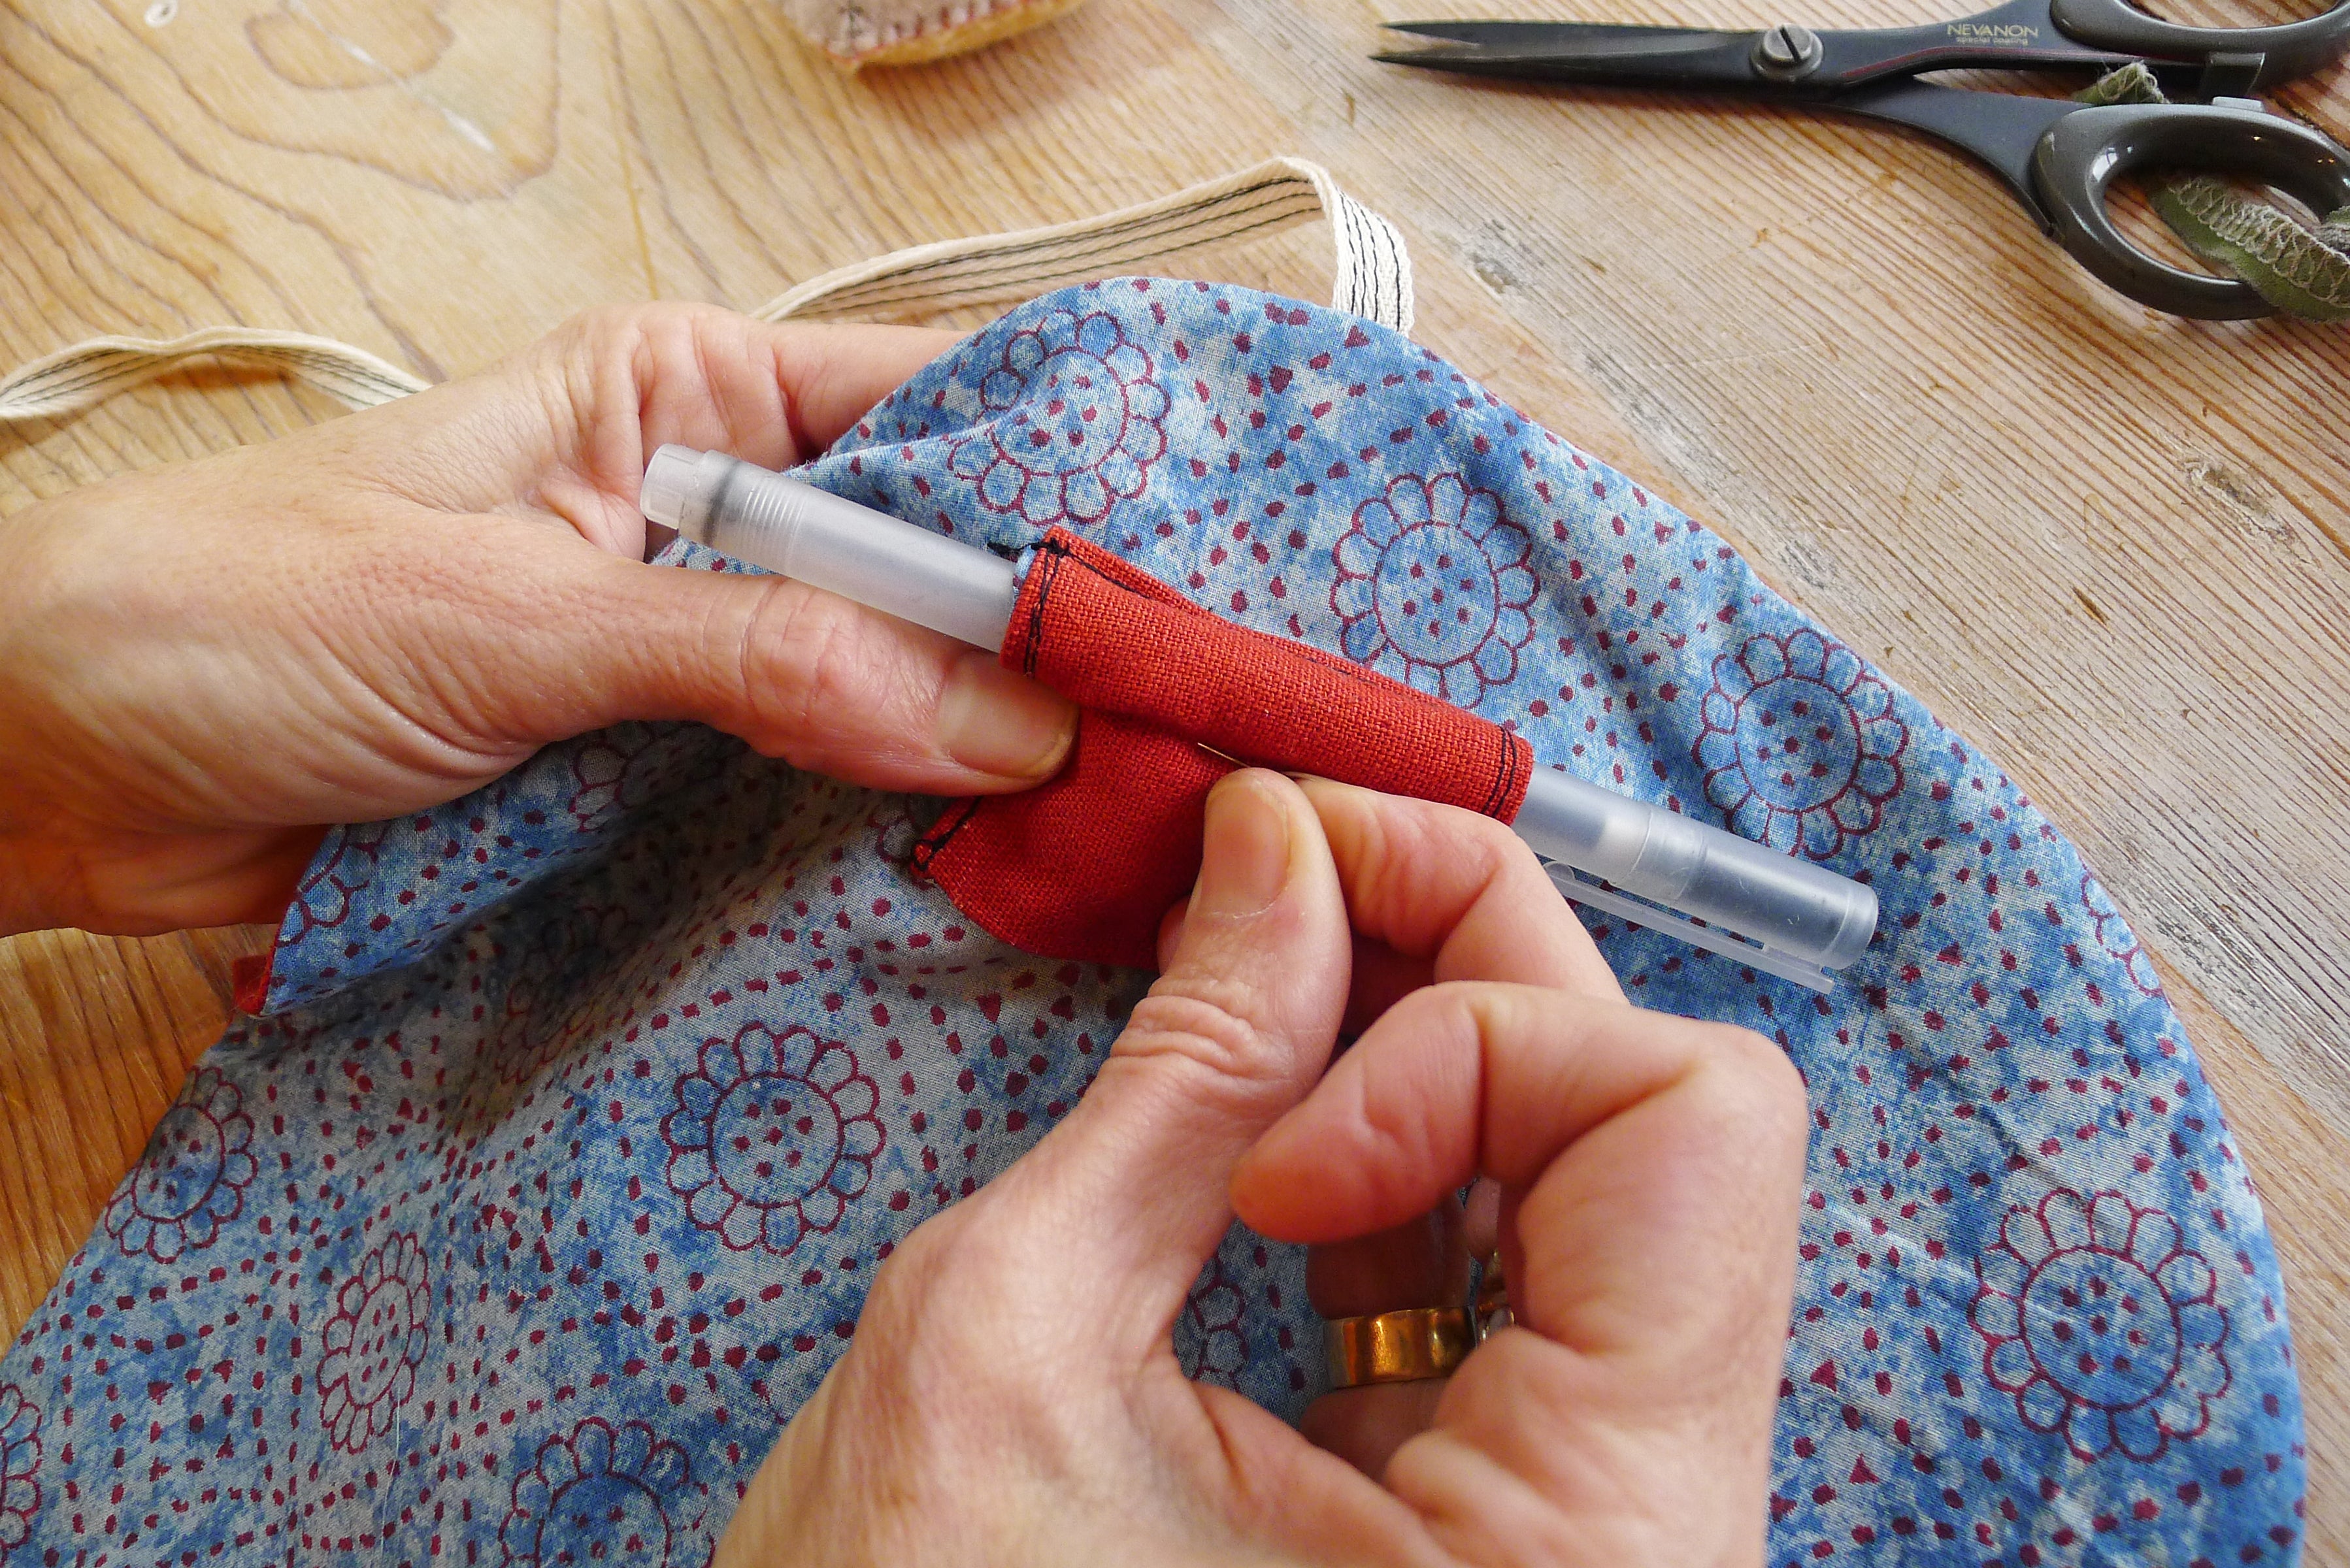
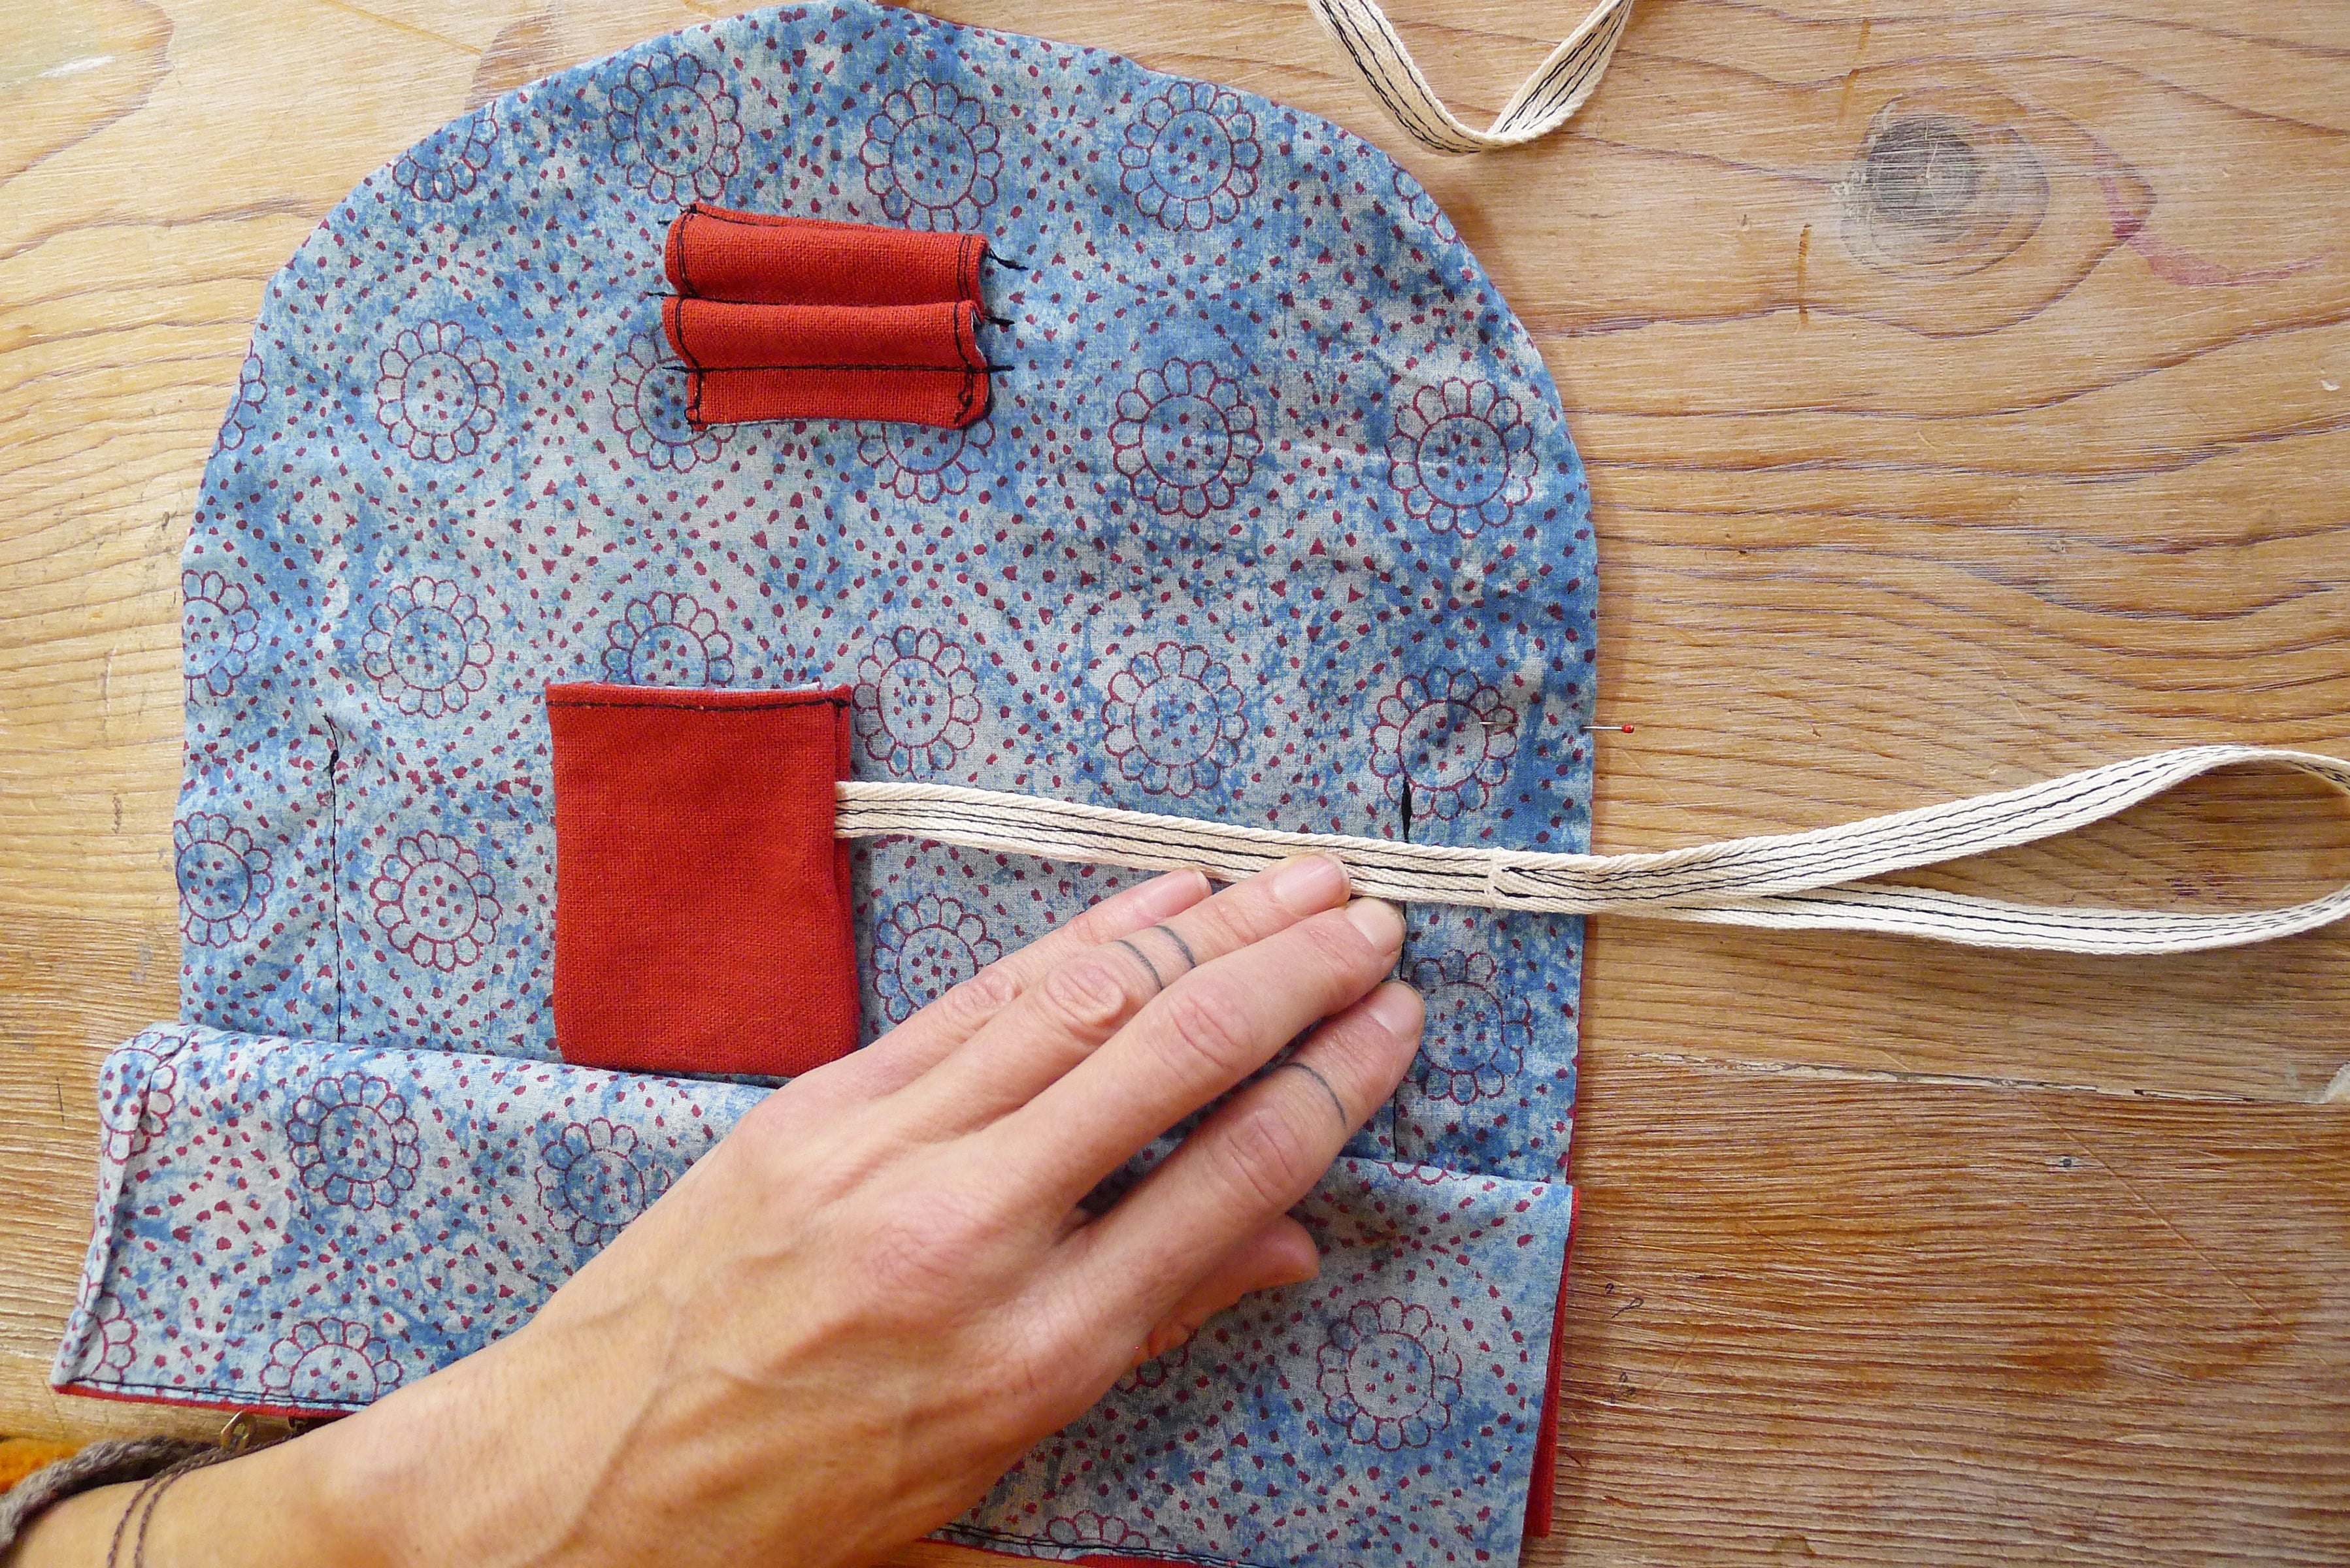
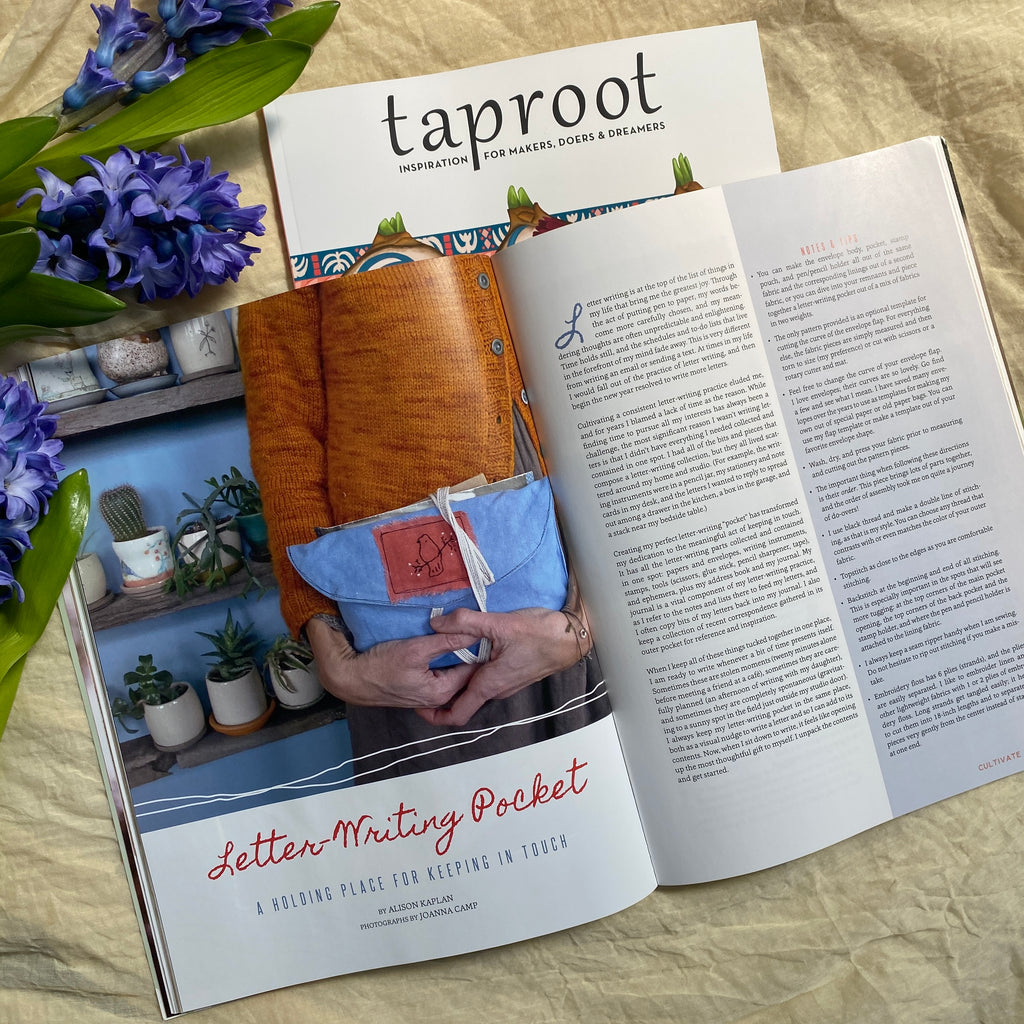
This is the same project that was included in Taproot Issue 56::Cultivate. It includes a step-by-step color photo tutorial and clear instructions for making a 10.5 x 6" letter writing pocket that features a large inner pocket, a pen & pencil holder, a stamp pouch, an outer back pocket for treasured correspondence, an outer loop, and a wrap closure.
When you add the tutorial to your shopping cart and complete the check-out process, the letter writing pocket sewing tutorial PDF will appear on your check-out page and will also automatically be emailed to you.
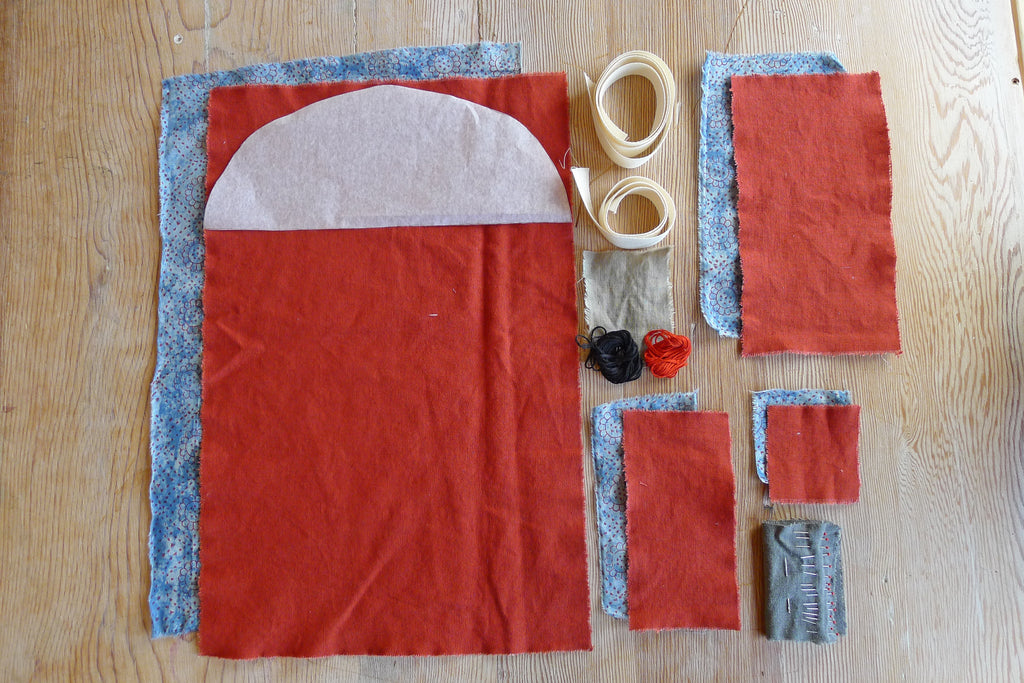
To complete this project, you will need:
- 15.5 x 17” piece of 9-ounce cotton for the exterior (fabric should be a heavier cotton or canvas)
- 15.5 x 17” piece of cotton for fabric liner (fabric should be a lighter weight than the exterior)
- 3 x 2.5” piece of linen for a patch (optional)
- 48” of ¾” wide twill tape (you could also use ribbon, braided selvedge, a long strip of thin fabric treated in the same way as the twill tape, etc.)
- 4.5 x 11” piece of tracing paper
- embroidery floss (optional)
- iron
- sewing machine & thread
- seam ripper (optional)
- scissors
- pen or pencil
- ruler or measuring tape
- cutting mat (optional)
- rotary cutter and straight edge (optional)
- straight pins
- hand sewing needle (optional)
- something with a dull point such as a bone folder, a ruler, a crochet hook, a dull pencil, etc…


Share this item: